The DIY Blockchain Data Warehouse
Thinking about building your own blockchain data warehouse or looking to query blockchain data with SQL? In this post, we show high-level steps on how you might build a quick MVP version of a blockchain ETL pipeline, from extracting raw data and storing it in Google Cloud Storage to performing transformations on the raw data, and finally to loading the transformed data into a database such as Snowflake.
Before we get into it, subscribe to our newsletter for more content like this and check out Luabase, where we handle all the blockchain data pipelines for you.
Extracting Blockchain Data
We will use the Ethereum blockchain for our DIY ETL pipeline and start with getting raw data from an Ethereum node. There are two ways to run a node:
- Set up your node. This requires maintaining your own hardware and ensuring it is running 24/7 to remain fully synced with the blockchain.
- Spin up a node through a service such as Quicknode that will manage and run all node operations for you.
Both will incur costs, time and money-wise, so choose the best option for your use case. In our example, we will go with the latter and use Quicknode. Once the node is up, we can begin pulling data from it.
Most blockchains support an RPC API which allows users to interact with the chain and pull data in JSON format. These APIs include built-in methods which can be called on to get a variety of data attributes back from the blockchain (e.g. the eth_blockNumber method returns the current height of the Ethereum blockchain).
But knowing which methods to call and when can be challenging—for example, getting the transaction traces requires several RPC methods and a few data transformations. Lucky for us, there are open source tools such as Ethereum ETL, which build upon the RPC API and abstract away some of these underlying method calls.
Ethereum ETL is packaged as a CLI tool that streams Ethereum data in JSON format and saves them into a user-specified location on a local disk or in the cloud. For our demo, we will run the CLI locally and save the raw data into a Google Cloud Storage Bucket. The general flow of our data extraction will look like this:

The following code snippet will stream from Ethereum block number 2,000,000 and onwards into a GCS bucket. It assumes you have Ethereum ETL installed, a GCS bucket set up, and have authenticated to Google Cloud on your machine:
ethereumetl stream --start-block 2000000 \
-e block,transaction,log,token_transfer,trace \
--provider-uri {NODE_URI} \
--output gs://{GCS_BUCKET_NAME}/{GCS_FOLDER_NAME}
where
- NODE_URI = the URI of your node either provided by Quicknode or where your self hosted node resides
- GCS_BUCKET_NAME = the name of your GCS bucket
- GCS_FOLDER_NAME = subfolder in your bucket (optional)
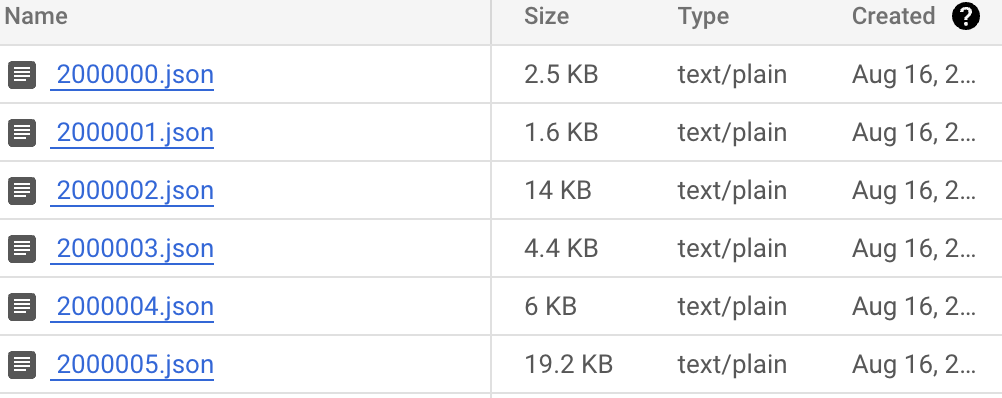
The process will pause when data collection catches up to the head of the chain or is manually stopped. The output should look like this (block_number.json):
Alternatively, you can also save the outputted JSON files locally by selecting a local directory for the --output parameter:
ethereumetl stream --start-block 2000000 \
-e block,transaction,log,token_transfer,trace \
--provider-uri {NODE_URI} \
--output some/local/directory
Transforming Blockchain Data
Now that we have the raw data saved, let's take a look at the JSON files. Every JSON object contains the following keys corresponding to each entity retrieved from a block:
blocktransactionslogstracestoken_transfers
Note that Ethereum ETL's streaming method into GCS currently does not support token and contract entities.
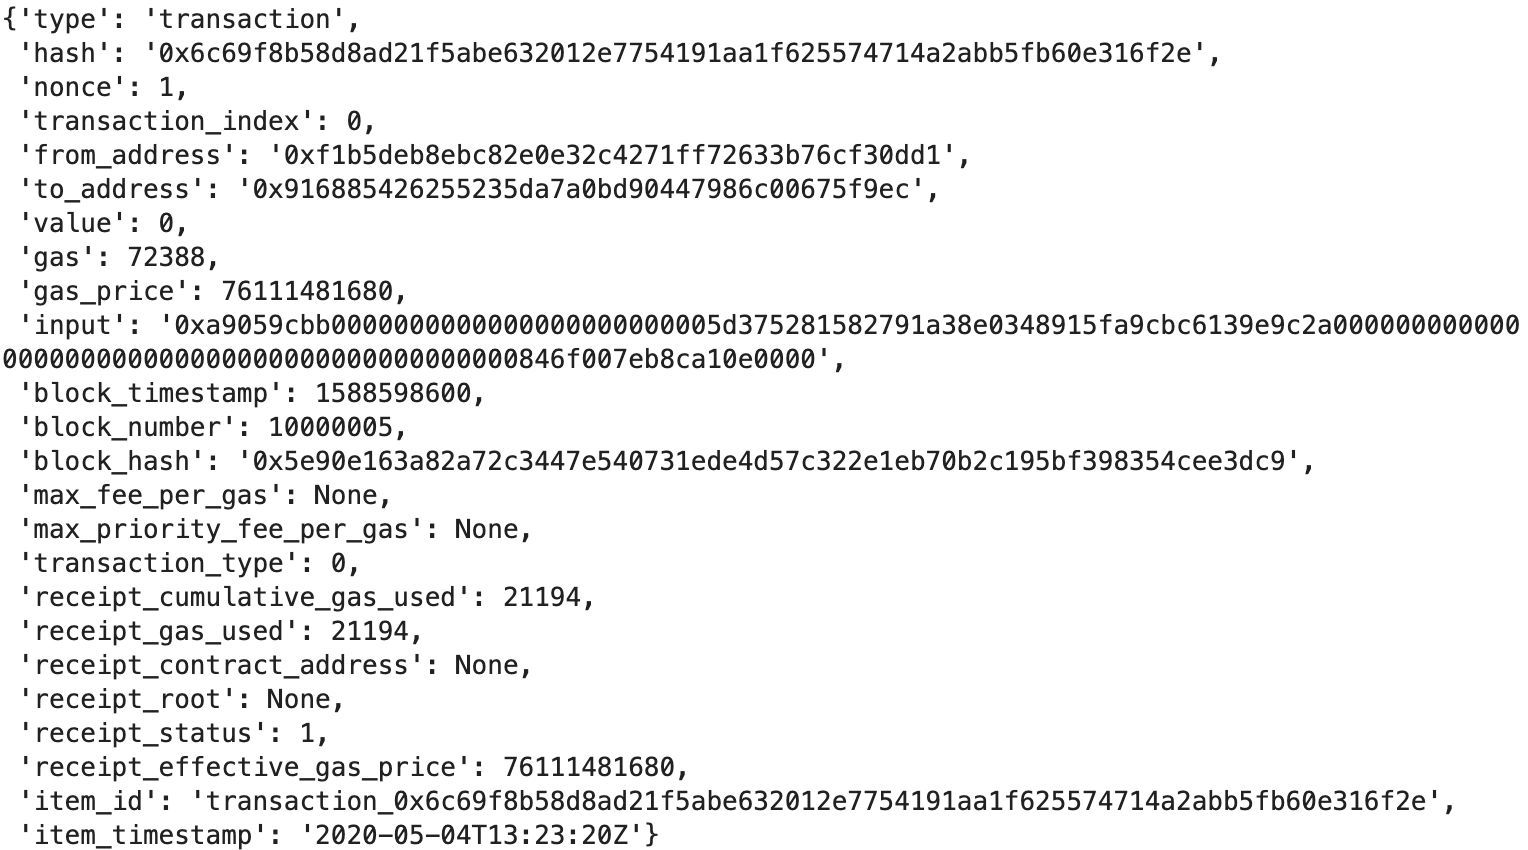
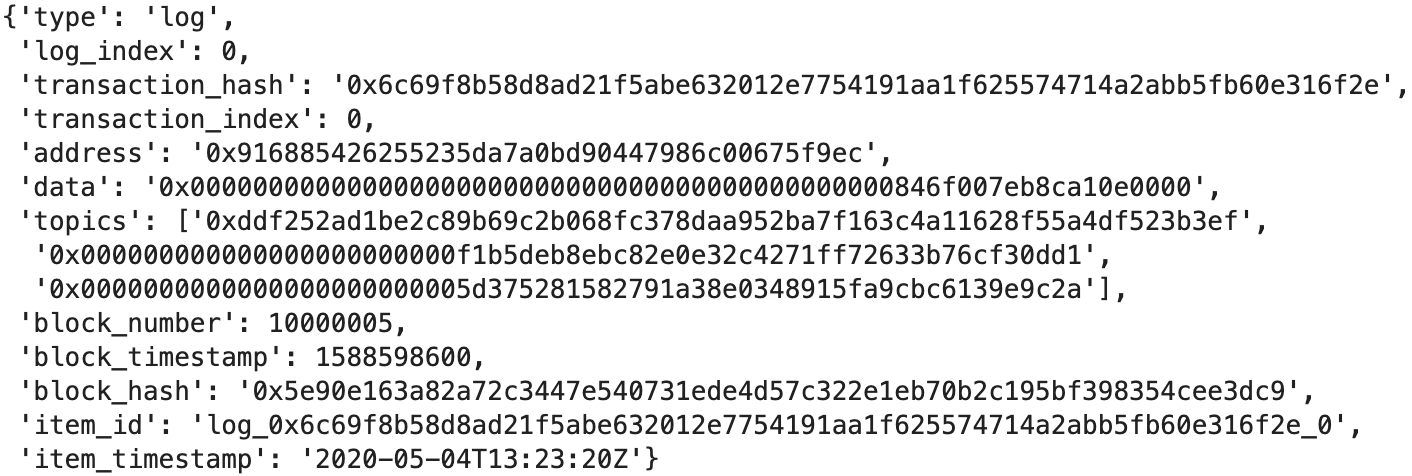
And let's take a look at each of these entities individually:
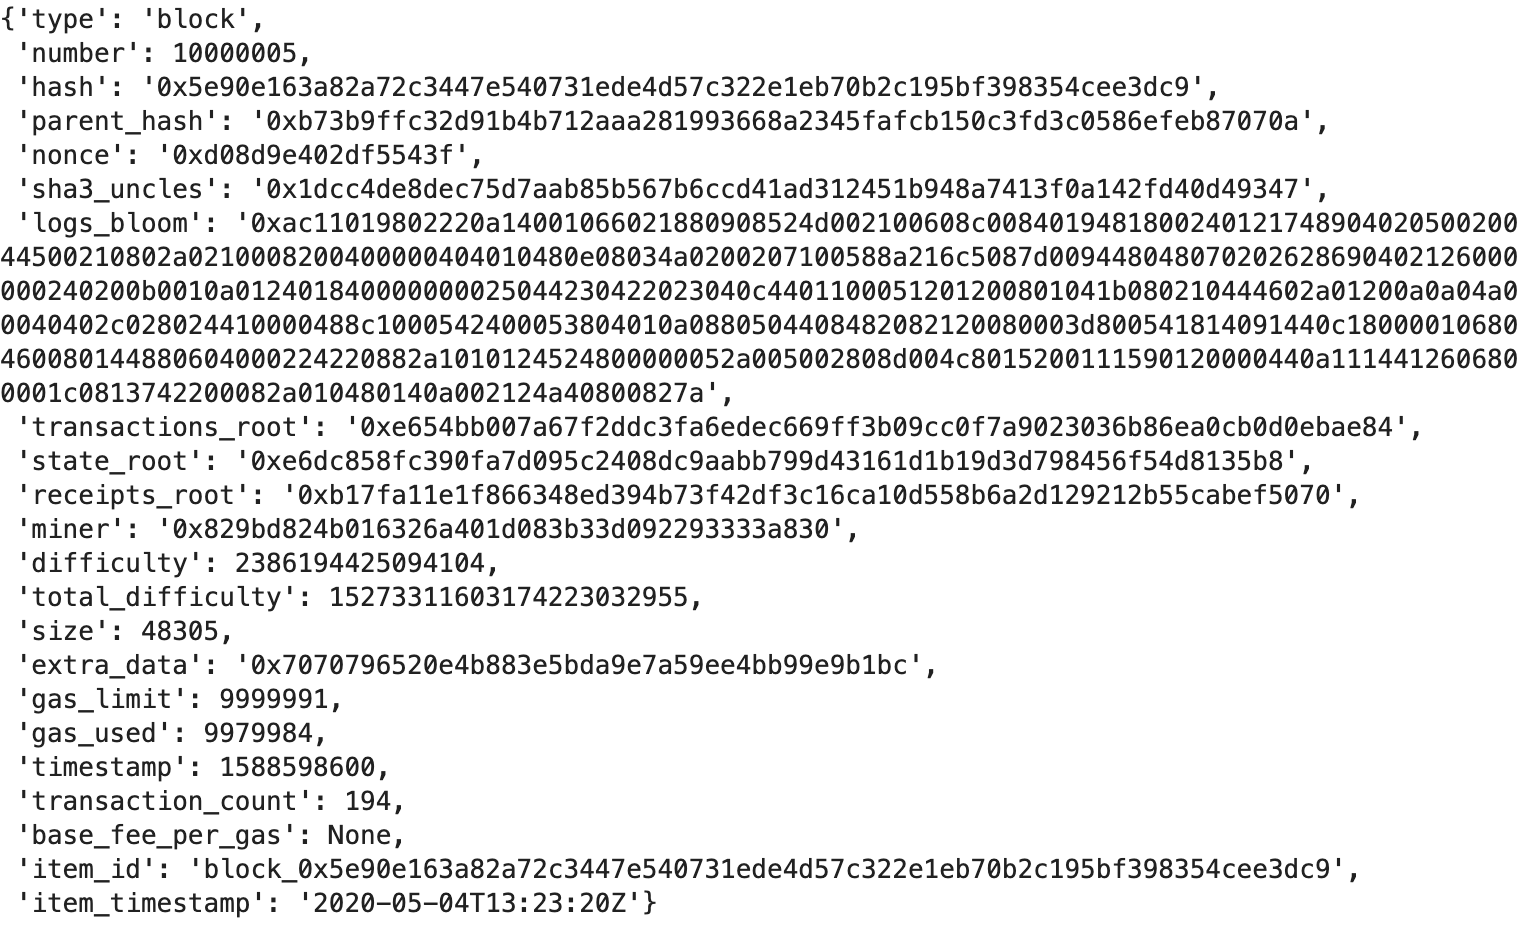
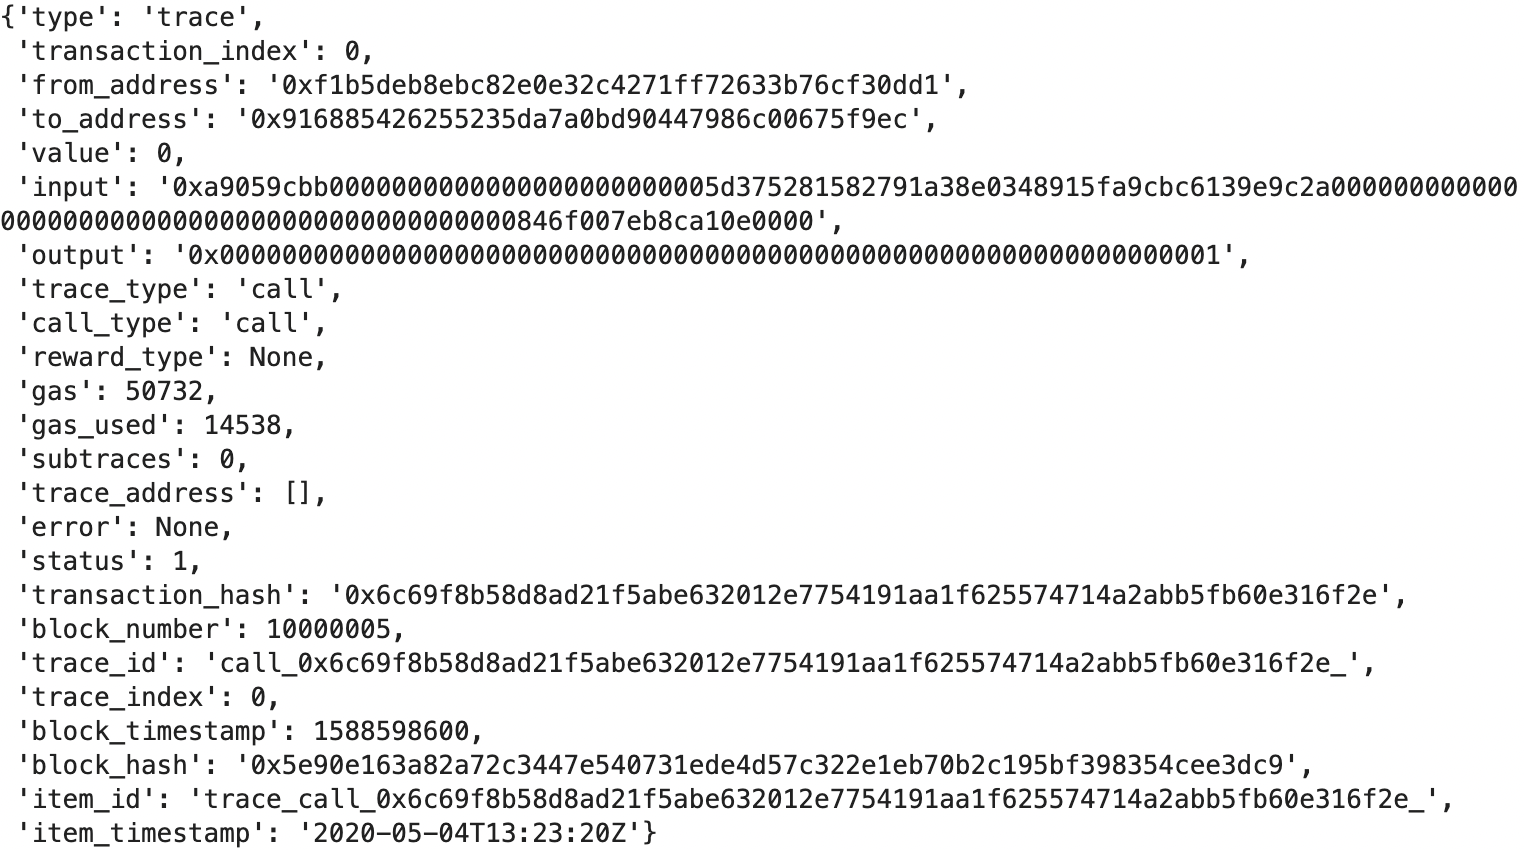
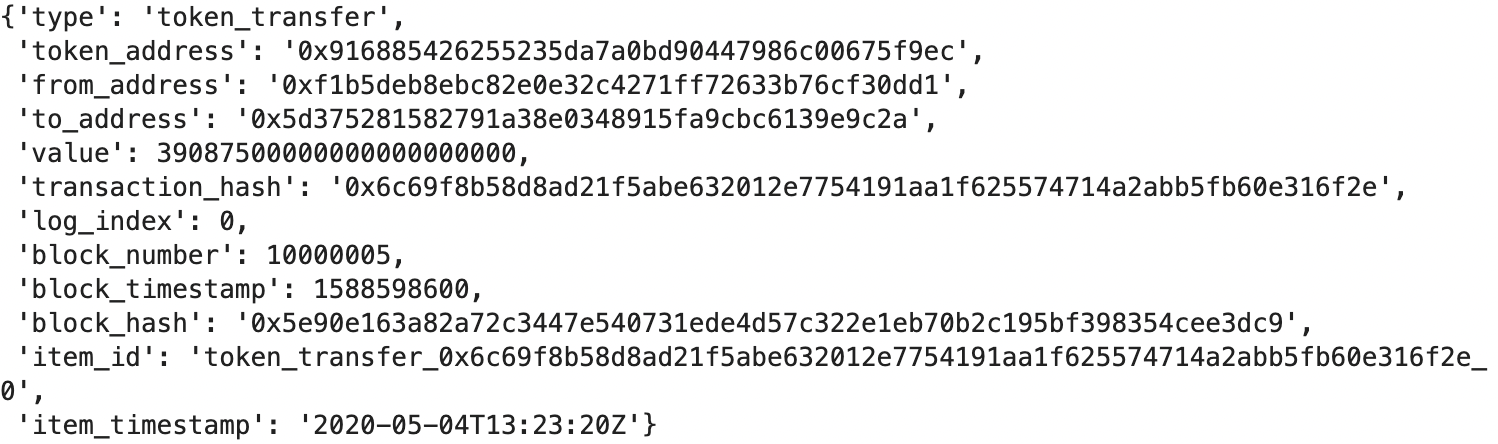
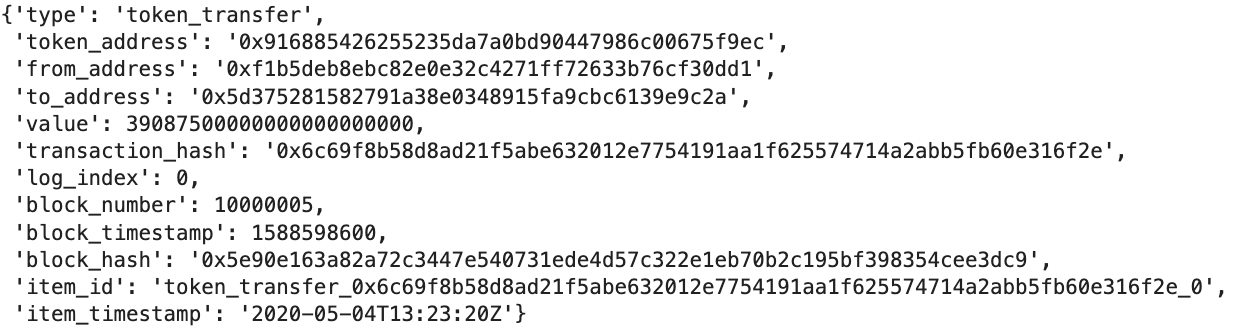
Currently, all these entities are within the same JSON object for each block; ideally, we would want to load each data entity into its own table for a cleaner relational data model experience. For our quick MVP pipeline, we will separate these entities and convert them into Pandas dataframes in preparation for loading into a data warehouse. Note that this is just one of many ways to prep the data for loading; other possible methods include:
- Separating entities into their own JSONs, saving into a cloud bucket, and then mass loading the data from there
- Selecting the individual key-value pairs and loading them as is in dictionary/JSON form, if your data warehouse client supports this (e.g. Clickhouse)
The following code snippet shows how you might perform the Pandas dataframe transformation mentioned above (where data is a block's JSON object) prior to loading into a data warehouse:
import pandas as pd
block_df = pd.DataFrame([data['block']])
transactions_df = pd.DataFrame(data['transactions'])
logs_df = pd.DataFrame(data['logs'])
traces_df = pd.DataFrame(data['traces'])
token_transfers_df = pd.DataFrame(data['token_transfers'])
Loading Into Data Warehouse
For demonstration purposes we will assume that the tables for blocks, transactions, logs, traces, and token_transfers have already been created in your data warehouse and the columns line up with what's in the JSON objects shown in the previous section. Ethereum ETL docs provides table schemas as a guide.
This step will vary depending on the data warehouse but the example below shows how you might load the previously prepared Pandas dataframes into Snowflake using sqlalchemy and the Python Snowflake connector.
from sqlalchemy import create_engine
from snowflake.connector.pandas_tools import pd_writer

#Create connection to Snowflake using your account and user

conn_string = f"snowflake://{user}:{password}@{account_identifier}/{database_name}/{schema_name}"
engine = create_engine(conn_string)

#Write the data to Snowflake, using pd_writer to speed up loading

with engine.connect() as con:
        blocks_df.to_sql(name='blocks', con=con, if_exists='append', method=pd_writer)
        transactions_df.to_sql(name='transactions', con=con, if_exists='append', method=pd_writer)
        logs_df.to_sql(name='logs', con=con, if_exists='append', method=pd_writer)
        traces_df.to_sql(name='traces', con=con, if_exists='append', method=pd_writer)
        token_transfers_df.to_sql(name='token_transfers', con=con, if_exists='append', method=pd_writer)
Final Thoughts
Hopefully, this post has provided some ideas on where to start for those interested in creating a DIY blockchain data warehouse. While we mainly covered how one might build an MVP version, a productionized version requires a relatively high level of effort to maintain and scale. Some factors to consider include:
- Resources for scheduling and continuously running the extraction, transformation, and data loading pipelines.
- Storage and compute for querying the large volume of data blockchains produce (tables are billions of rows, terabytes in size). Data warehouses like Snowflake can get expensive if you are looking to query entire blockchains.
- Handling changes to the blockchain (e.g. hard forks, chain reorgs) that could potentially alter the data model/schema.
- A lot of the more interesting analysis requires more than just the raw data (e.g. decoded events), making additional pipelines on top of the raw data a necessity.
- The time and cost to operate all of the above!
Here at Luabase we handle all the complexities of building and maintaining blockchain data pipelines. If you are looking for a production-ready blockchain data warehouse that's fast, SQL queryable has decoded events, and has an API check us out!